I am not talking about how many memories that you can hold at one time in your head as we can never have enough apples in our brain. As a teacher, we were taught that as a student ages that they can hold 1 to 2 memories. By 24 years old, we can hold up to 5 memories or instructions (apples) at once until we age and then it starts to decrease. Ok, enough rambling. The apples that I am referring to are the ones on your counter when no one has decided to eat them. Once they are no longer crisp, my family decides that they are no longer edible. So back to my question, too many leftover apples? I love to make the family homemade apple sauce as either a yummy dessert over vanilla ice cream or a side dish to our dinner. Louie loves it with ham.
What to gather…
Apples – I have used all types and they have worked.
1 tablespoon cinnamon – (I might add a little more)
1 or 2 tablespoons of sugar
1/4 cup of water
Let’s Start
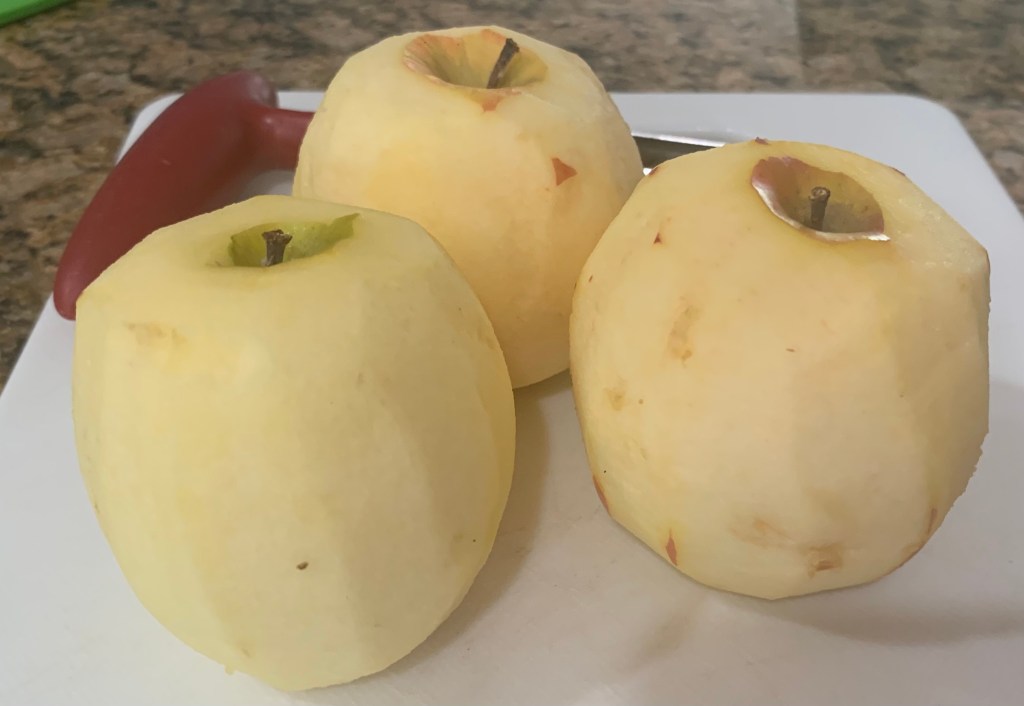
Apples
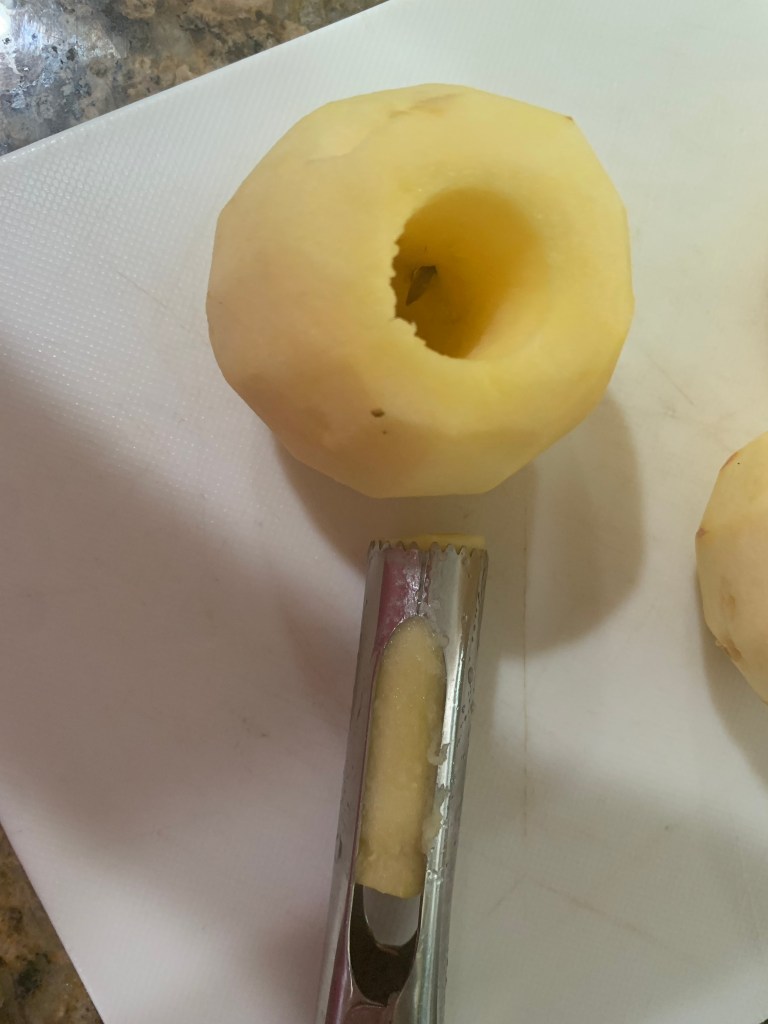
Peeled
Cored
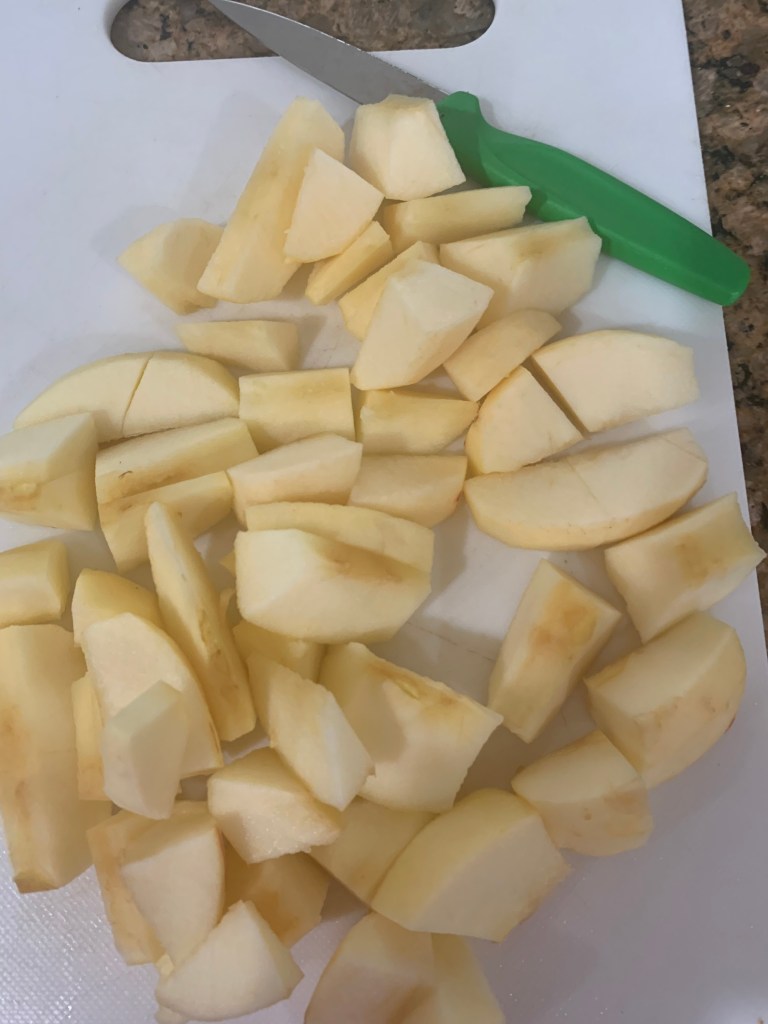
Cut into wedges
Next, place the cut up apples into your 2 quart pot on the stove. Add cinnamon, sugar and water. Heat the mixture on medium heat until it starts to boil or bubble. Stir a few times and lower heat to simmer. Cook until the apples start to fall apart and you can mash them down. My family likes them smooth but others like them chunky.
Cook the apples on simmer with a lid.
Mash the apples to your desired consistency.
Eat as applesauce or spoon warm over vanilla ice cream for a dessert.
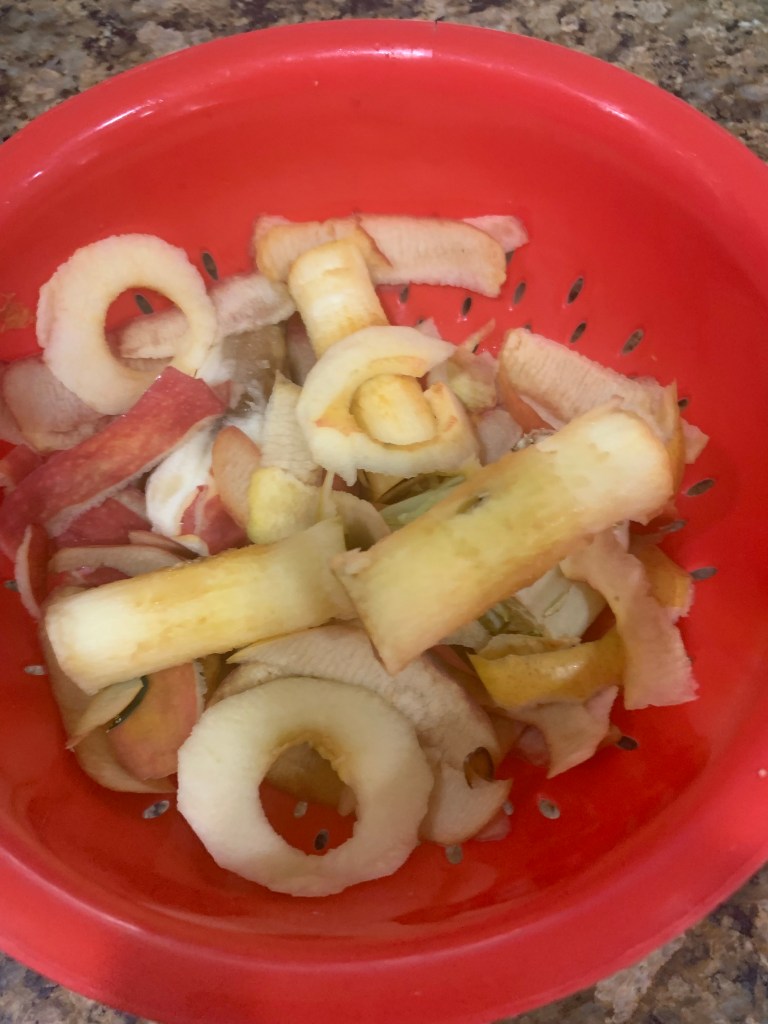
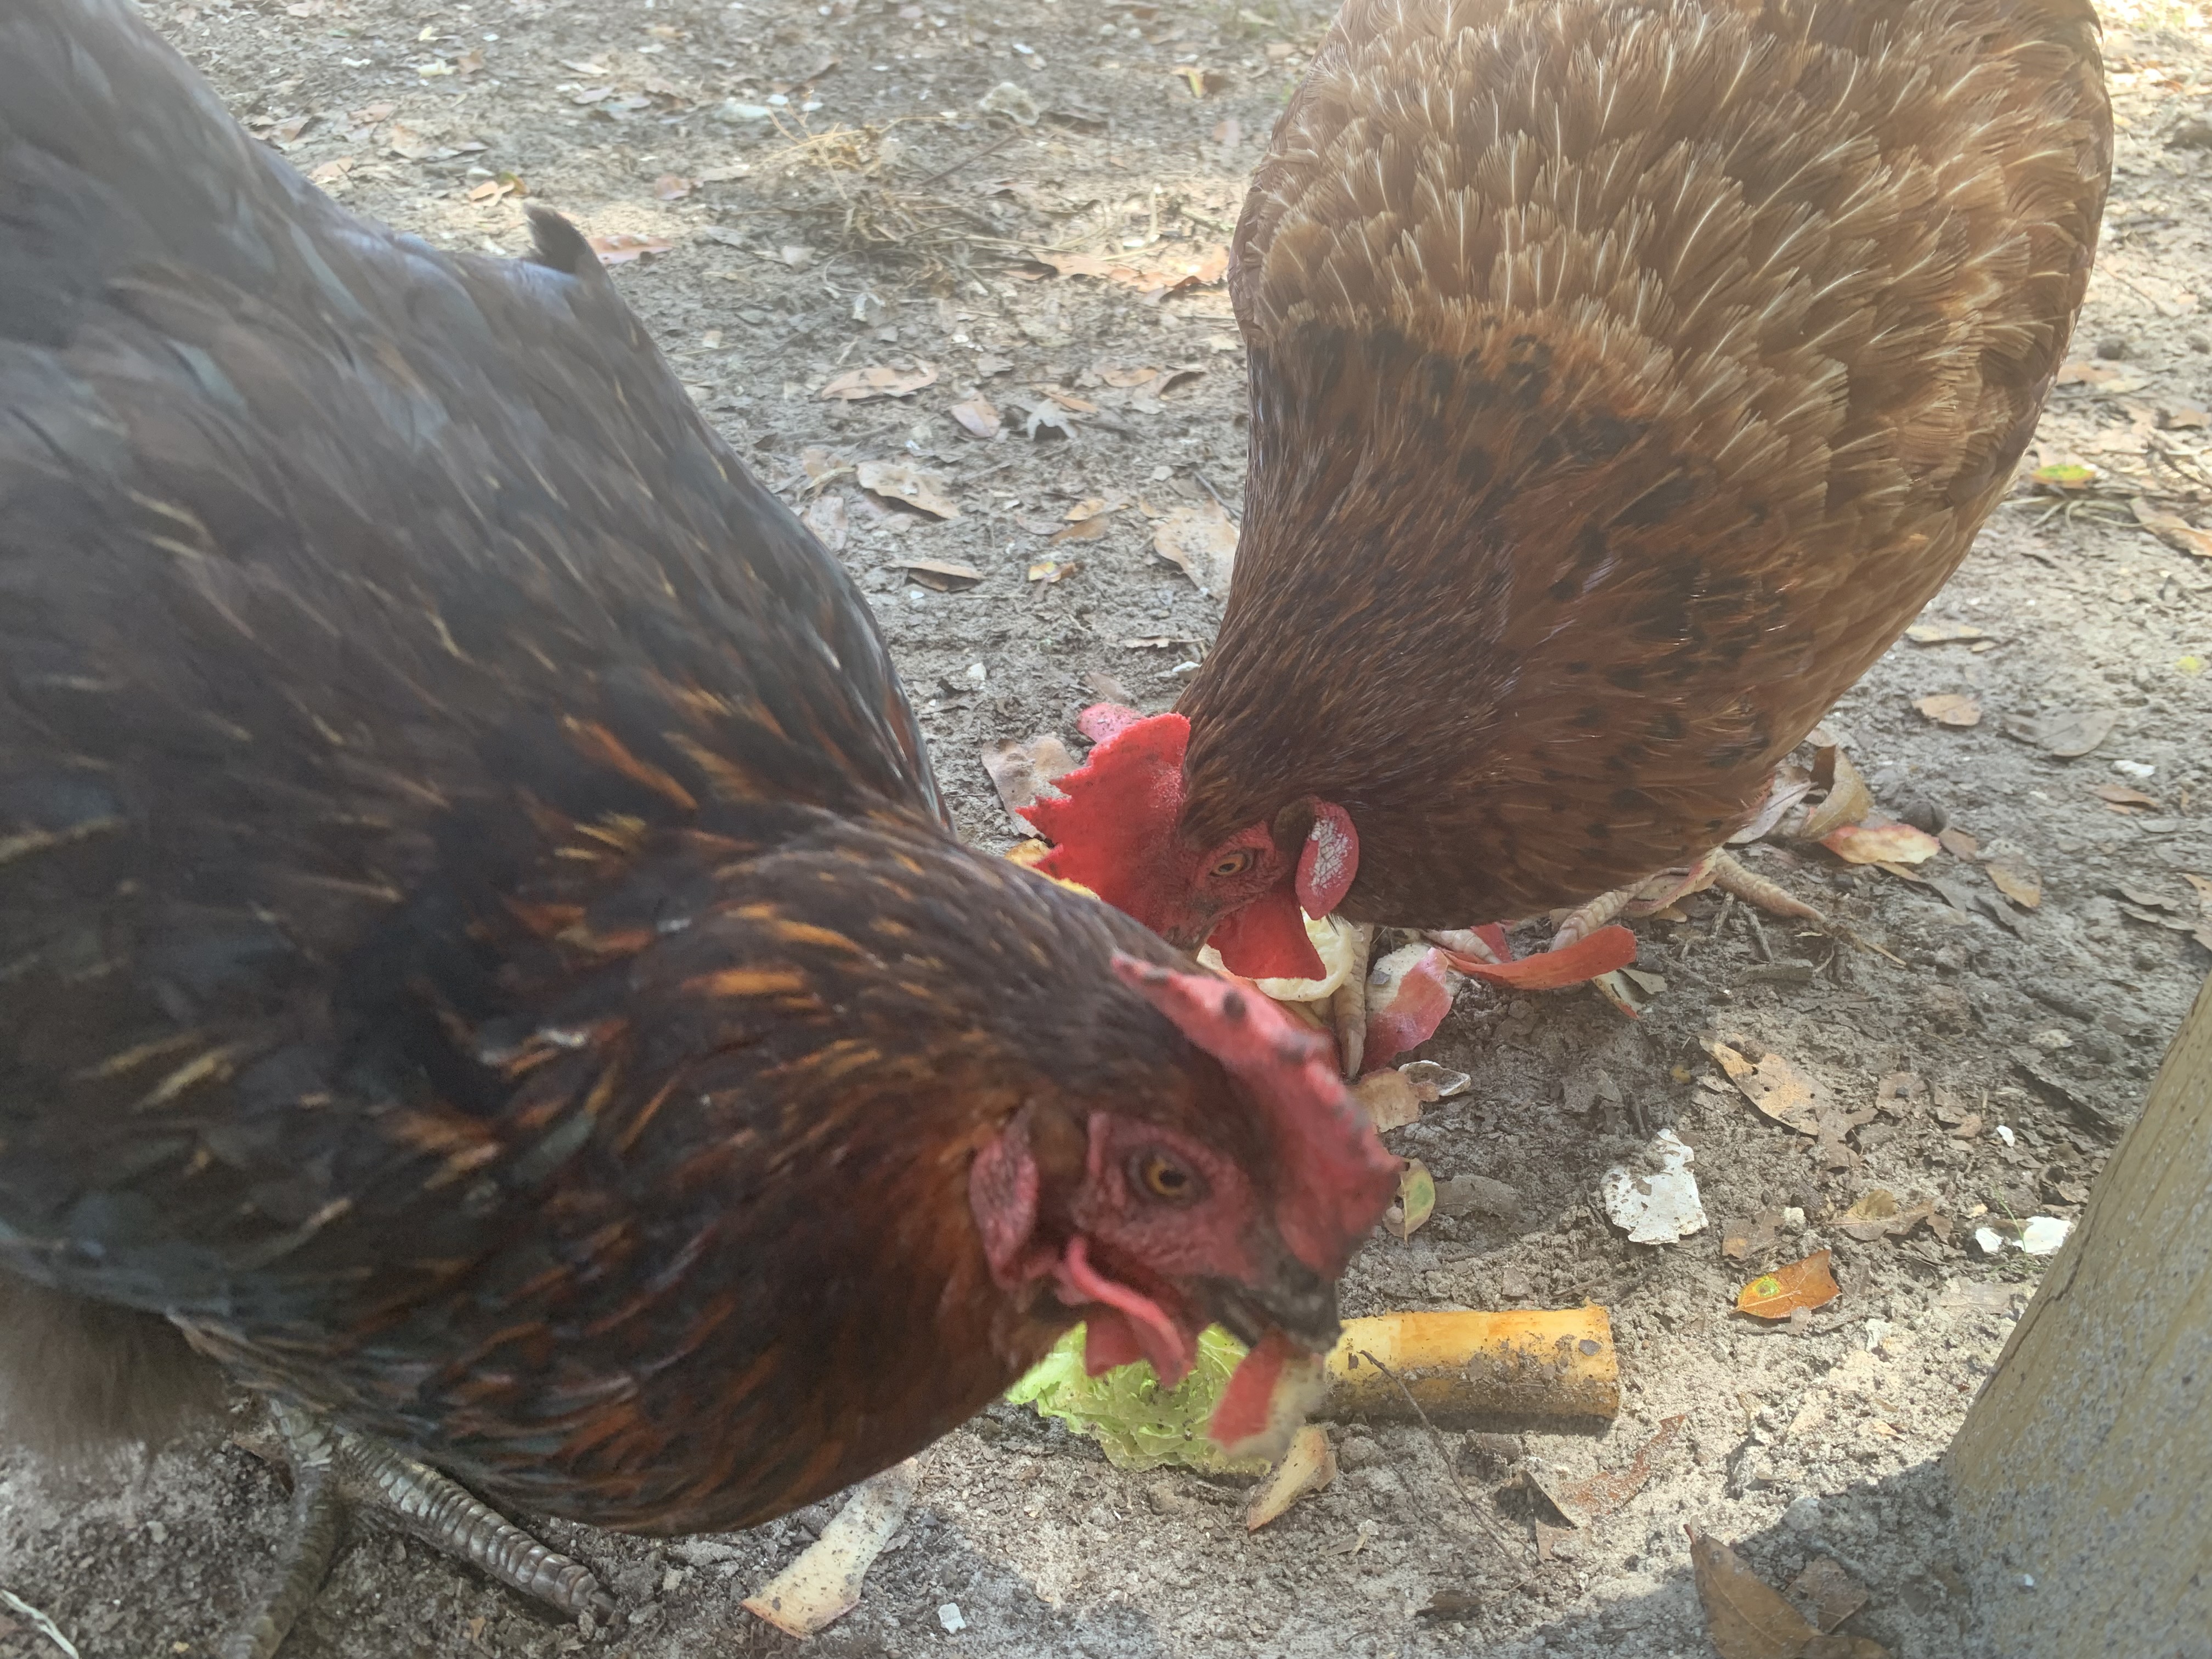
The Apple Leftovers?
What about the leftover scraps?
The girls of course. They love the leftover pieces. Take a peek.
One of the most asked for recipes in the backyard is banana bread. Adapted from Martha Stewart’s Baking cookbook, I made some changes to recipe for the kids as they love chocolate. We make it with chocolate chips and it super yummy enough that the swim team and my daughter’s advisory asked for it weekly. I thought it would be fun to share as I am making it for our visiting friends from the UK. Hoping to get 5 stars from their rating as we were joking about making Bitsy’s Backyard into an Air B&B or maybe a joint summer camp with their mum.
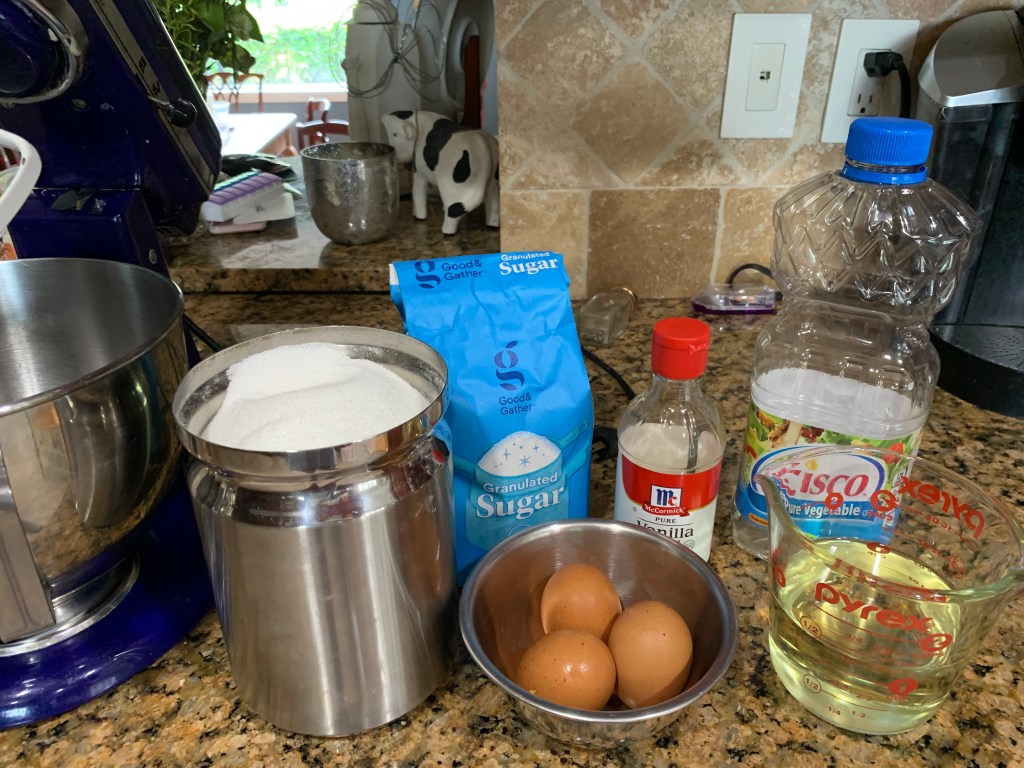
First gather ingredients.
3 cups of flour
1 tsp of baking soda
1/4 tsp of salt
2 cups of sugar
3 eggs
1 1/3 cup canola oil
2 squirts of vanilla ( I guess about a tablespoon)
2 ripe bananas
1 cup of chocolate chips (more or less – depends on how chocolatey the kids like it)
1/2 whole milk
Dry Ingredients
Wet Ingredients
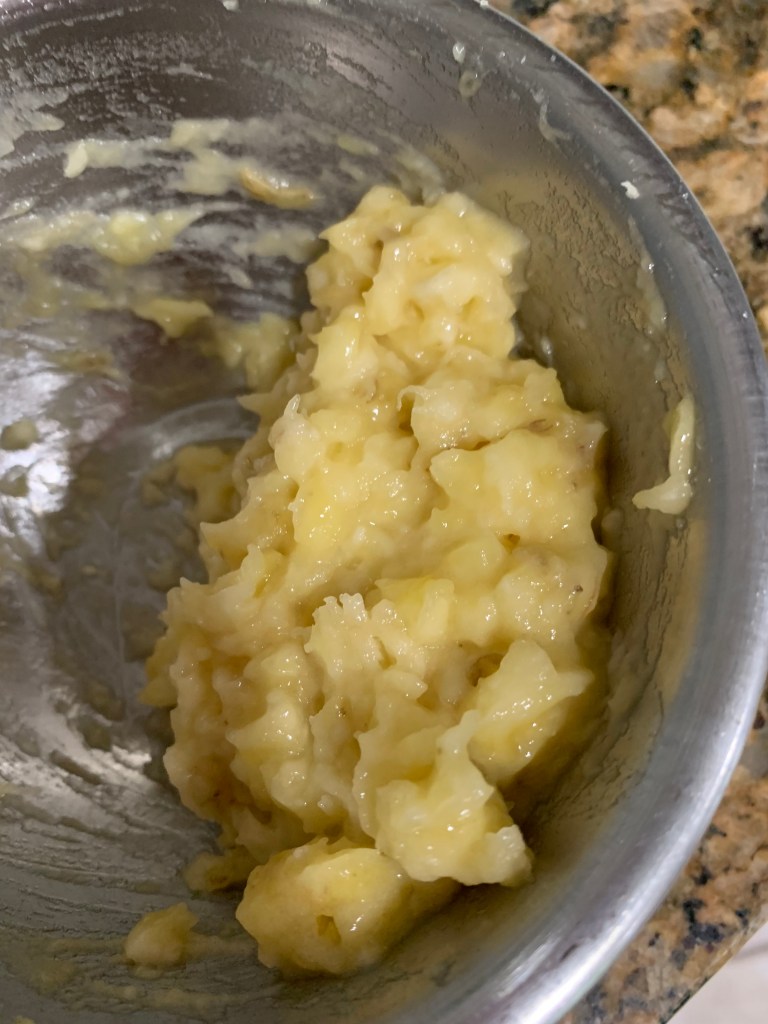
2 banamas
Smashed bananas
Milk
Time to mix and bake!
Preheat oven to 350 degrees and prepare 2 greased loaf pans. I use glass ones and spray with Pam spray.
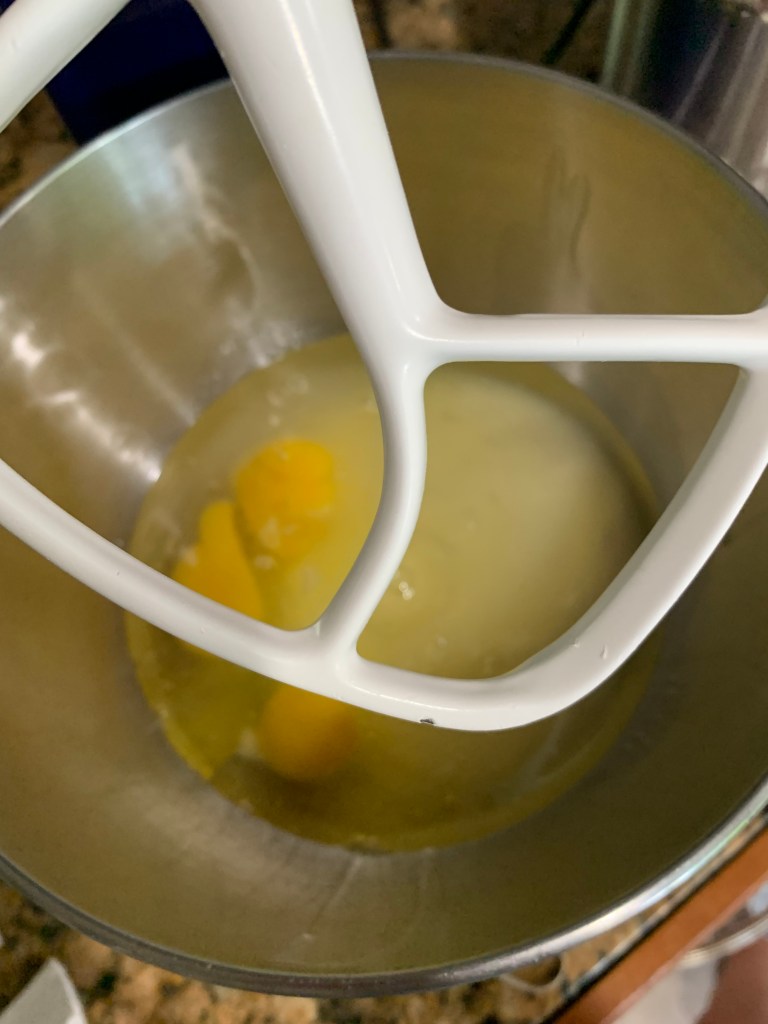
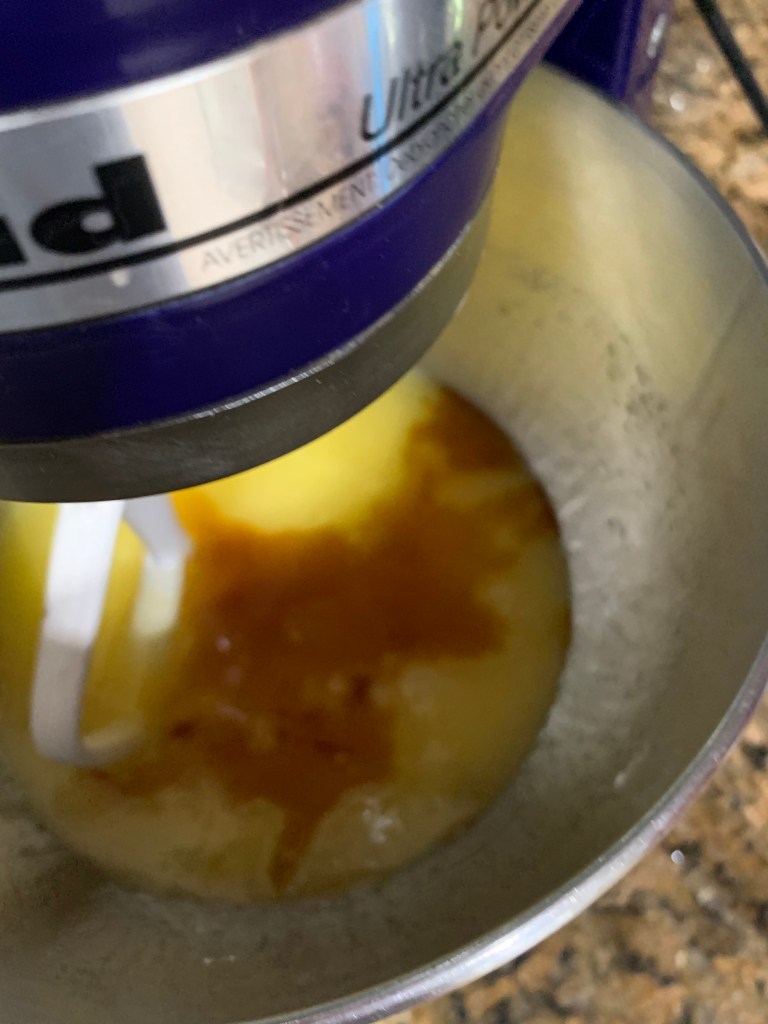
Combine dry ingredients of flour, baking soda and salt. I like to use a fork and mix them together. Next combine the eggs, sugar, and oil in a mixer until smooth (don’t over mix it). Then add the vanilla.
Add in the dry ingredients slowly to the mixer on low speed. Mix until smooth.
Mash up the bananas and then add them to the mixer. Mix again until smooth. I don’t worry if there are some lumps but depends on your eaters. I love a few little bites of banana.
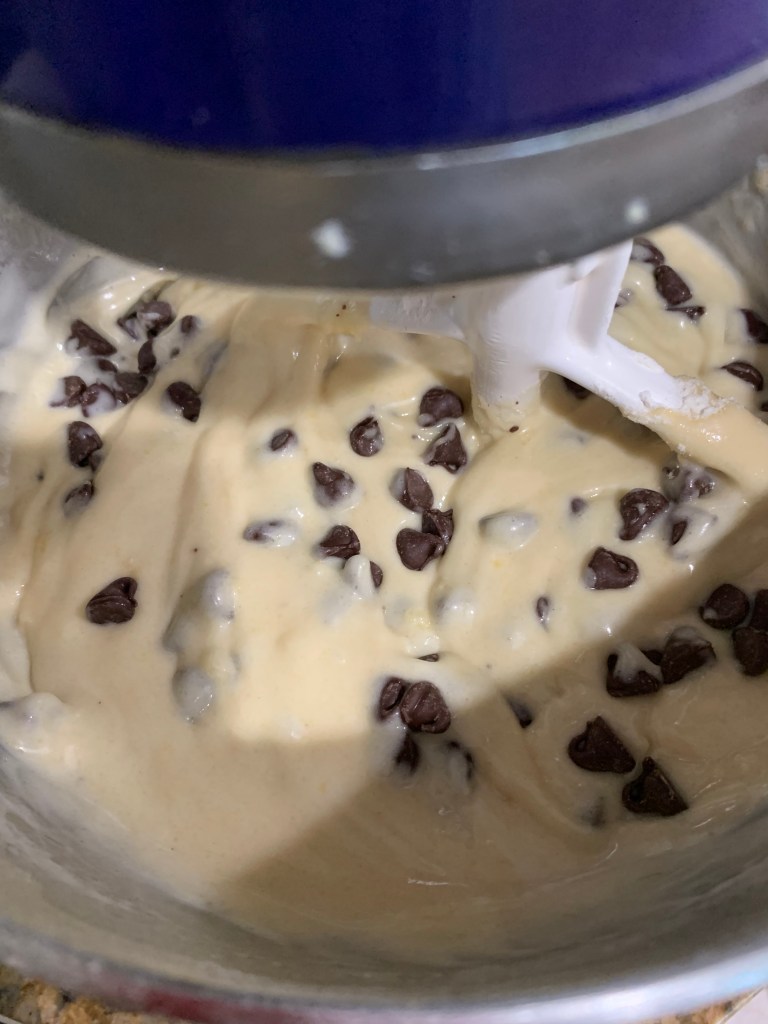
Last two additions – add the chips with mixer on low and then the milk again mixer on low.
Once mixed together, pour 1/2 of the mixture into one pan and then into the other.
Place in the oven on the middle rack and bake for about an hour.
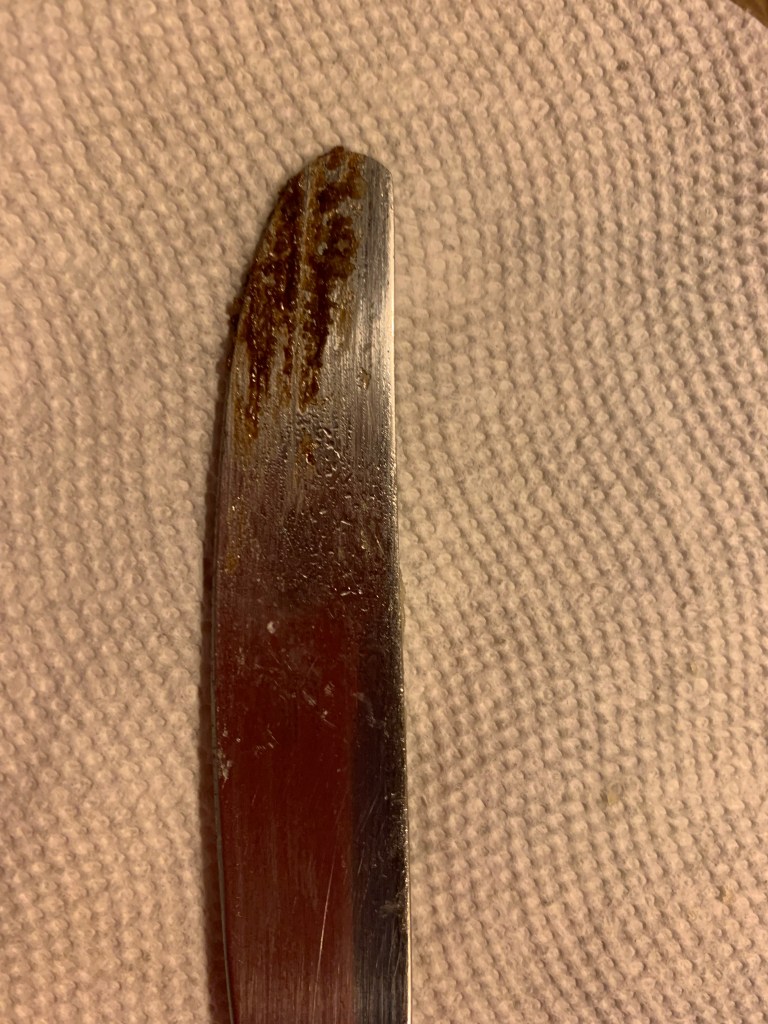
Most times, I find it needs a little longer so check with a knife that it comes out clean.
I’ve added some pics to help you through the recipe. It is easy and quite tasty.
Eggs, sugar and oil
Mix together
Adding vanilla
Adding the dry ingredients
Adding milk and chips
Putting into pans and oven
Needs to bake for a little more.
When testing if the bread is done, insert a clean knife into the center of the bread. It should be pretty clean when you pull it out of the bread like the knife on the right
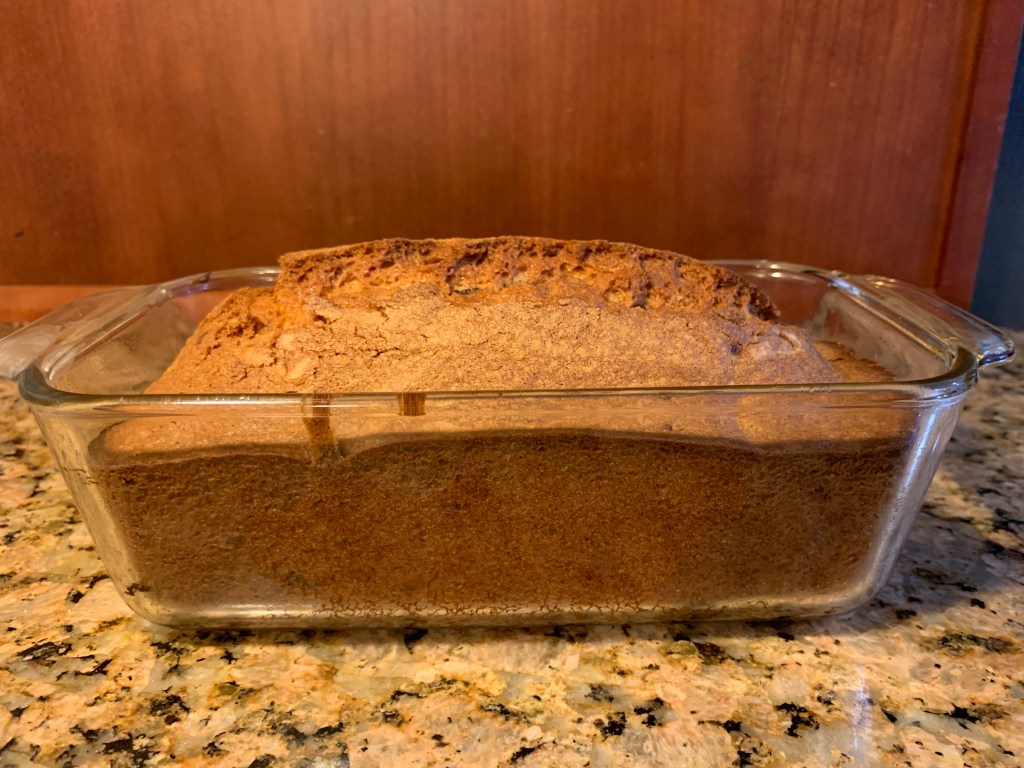
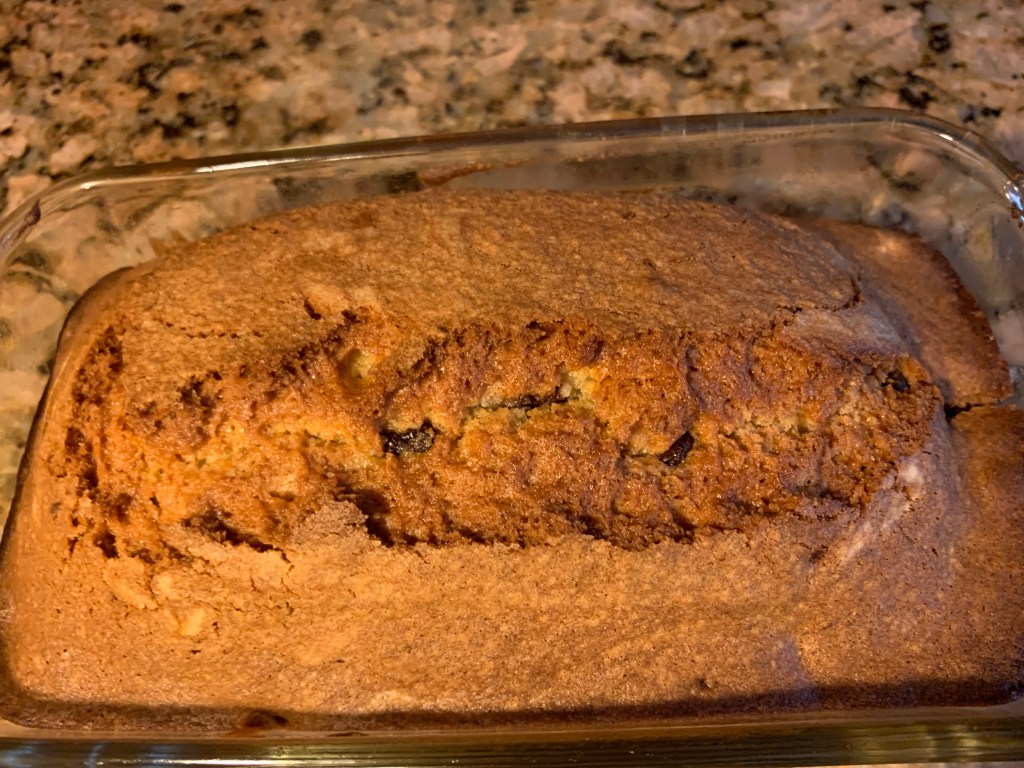
Bread is done
Top is golden brown
Grab your tea.
Fun thing while I was baking this one was that I got to chat on the phone with a dear friend from NY when the kids were little. Relationships and taking each moment to enjoy our time in this journey are the best gifts that we have. Fun to catch up but also knowing that we travel through this world together with people that share unique connections with you makes each day better. We are never alone and there is nothing better than sharing life with others especially over a piece of Bitsy’s banana bread and a cup of hot tea. I recommend Yorkshire tea or Taylor’s from the UK.
Take time to bake some bread for your family and friends. Relationships are the best medicine in our life. Smile we are not alone even when we feel like we are.
When I was first diagnosed, I had a hard time eating. My appetite was low due to all of the medicines, stress and overall life challenges. I worried about my diet as I didn’t want anything to inflame my liver further. My doctor said that diet wouldn’t change the disease, but it definitely could help my overall health. Well, I had constant scary thoughts that the food that I used to eat could cause inflammation possibly worsening my weekly blood tests. For autoimmune diseases, the AIP diet, anti-inflammatory diet, is the one that I saw recommended the most. My doctor agreed that it is a super healthy diet but extremely hard to follow day to day. So 7 months later, I have adopted some parts of it with some other healthy eating tips along the way. I thought I would share some recipes along my journey as I continue to cook through my life with a wild immune system. I will note if the recipes are for the family and not on my diet as one of sons loves to cook. His recipes are fun, super yummy and must be shared.
Bitsy’s Berry Spinach Smoothie
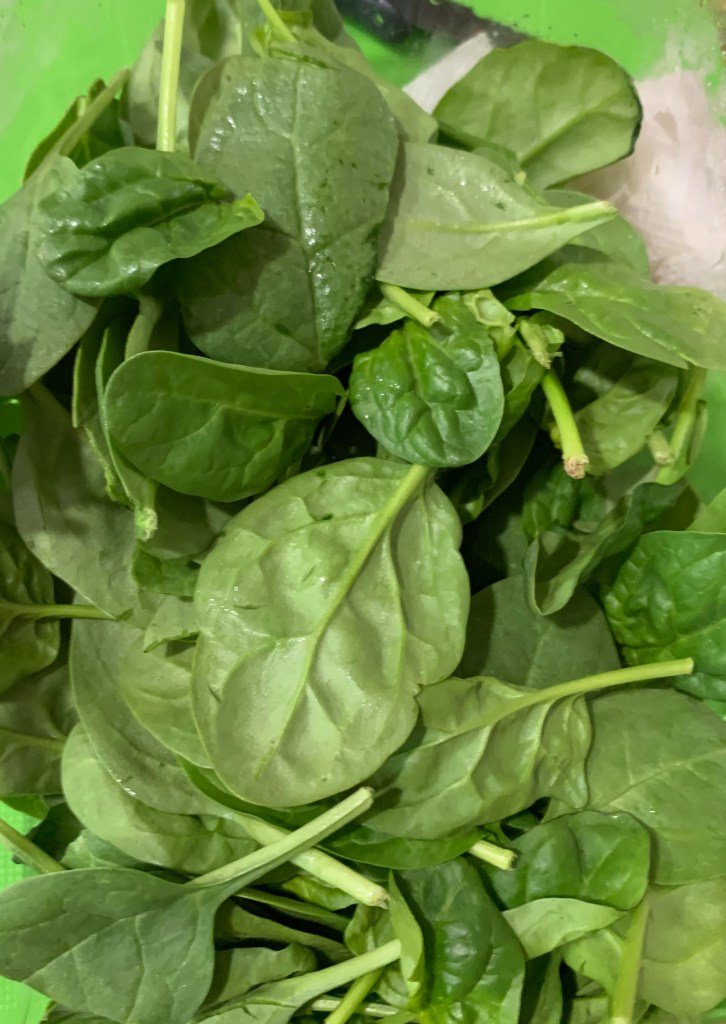
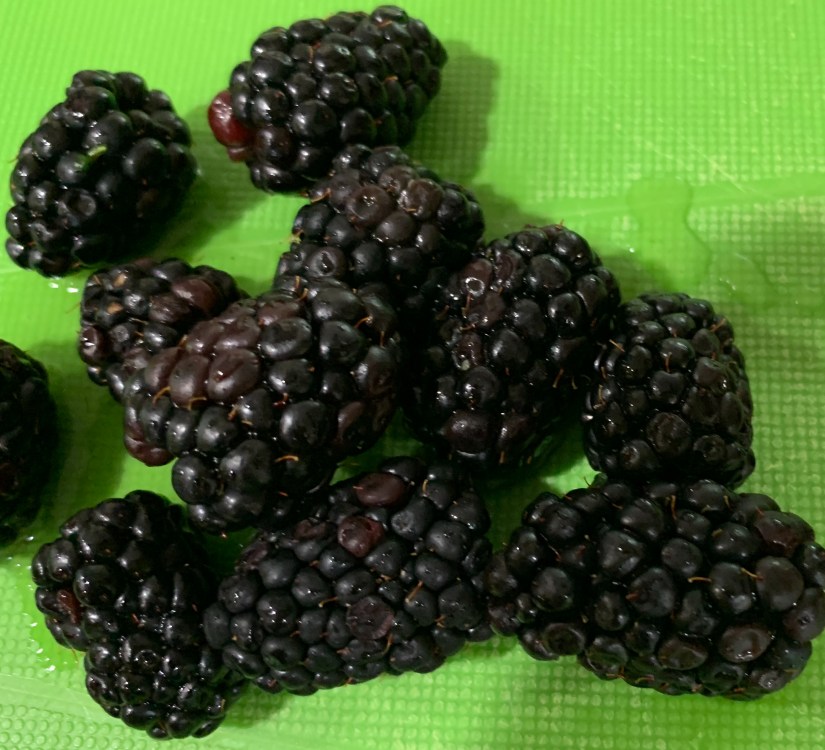
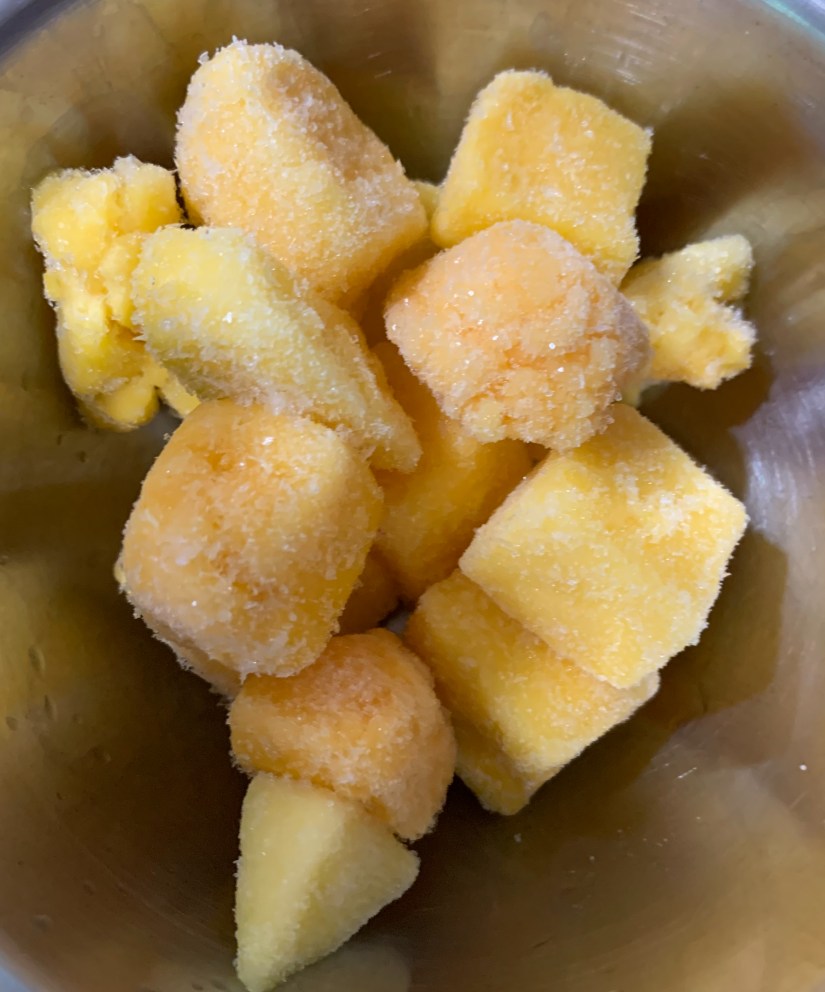
First – collect your fruit and spinach. I tend to use fresh spinach but you can use the frozen one as well I love some banana, apple (with skin), berries, and frozen mango or pineapple. I have even added in frozen avocado as well.
** One note – fruits have a lot of sugars – natural sugars yes but still sugars. With AIH, many of us live on steroids with our autoimmune meds. Your sugar intake might be something that you have to monitor so be aware if you are making this smoothie. I found that it helped me and my sugar did not spike or crash.
1/2 banana
1 cup of spinach
1/2 cut apple
1 1/2 cups of mixed berries
Handful of blackberries
1/2 cup of mango or pineapple
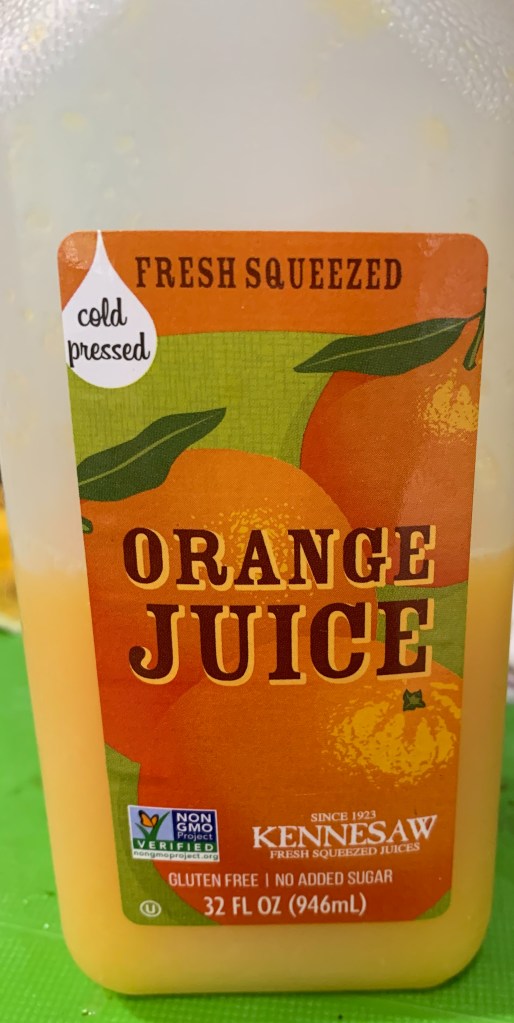
Then, I add some fresh squeezed orange juice to the blender. I add enough orange juice so that the mixture blends into a smooth liquid. I like my smoothie room temperature and runny so that I can drink it easy. I found that when I couldn’t eat that the more “liquidy” my smoothie was; the easier it was to get down.
Start with 1/2 to 1 cup
Should look like this.
I also added a touch of cantaloupe as I had a few chunks left. Watermelon can make your smoothie sweeter.
As you can see above, I do not use a lot of liquid as my smoothie are mostly made from fresh fruits. If you use more frozen fruits, you might need to add some water or more orange juice so that it will blend easily.
Blended Bitsy’s Berry Spinach Smoothie
I love having a Go-To Smoothie when you have to get berries and other essentials vitamins into your diet. For some reason, I was able to drink this each day in the beginning of my journey and it helped give me a little strength. There are lots of recipes out there so try one out and make it your own. There are days I add honey, protein powders, yogurt, or even mint with lemon depending on the needs of my body that week.
Here’s to a great 2nd week on my blog and our time exploring together. A life journey is better with people walking along with you. Thank you to the all who are reading.